Raspberry Pi as Bluetooth Audio Receiver (A2DP Sink)
Thu 27 Jul 2017, 12:13
Prologue
I got a car recently, and it does have Bluetooth... but only for phone calls (handsfree.) It doesn't do music over the Bluetooth connection. (2010 was a weird year)
It does however, have a AUX IN, basically where you can plug in any 3.5mm audio source. Which is decent, I can just use a 3.5mm <--> Lightning adapter with my iPhone 7 and play music through a wire, but that is inconvenient and I can't charge my phone at the same time.
So I set out to look for a Bluetooth <--> 3.5mm adapter essentially, and there are many of these. One that I was 1 step away from ordering was the Sony RM-X7BT, but I thought it was a bit pricey for what it does.
One alternative that I had at home already, was the Sony SBH20. This is actually a Bluetooth headset, but as you can see in the picture, you can simply just detach the headphones and stick in any 3.5mm speakers you want.
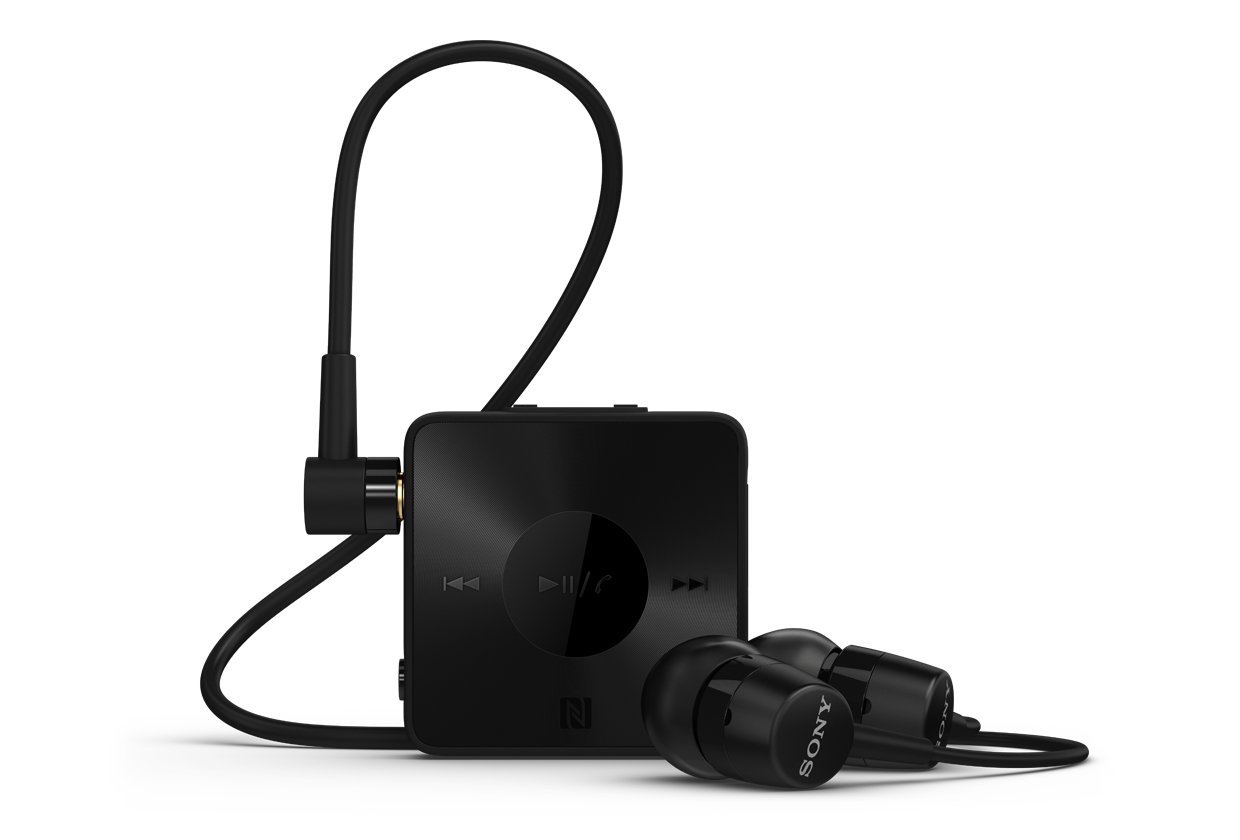
I tried doing this and it worked great. The only flaw with it is that it has a battery, and so it stays on when I turn off my car.
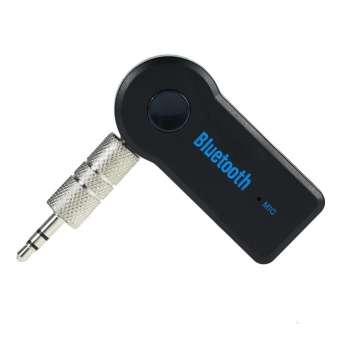
The battery issue was something I discovered alot of these alternatives had.
On eBay you can find a ton of these cheap things, which seem great, but they also have a battery for some dumb reason.
Another thing I could do is that I could rip out my head unit and put in a new one, maybe one with Apple CarPlay, but for now I didn't wanna buy anything and I just wanted to use what I had around.
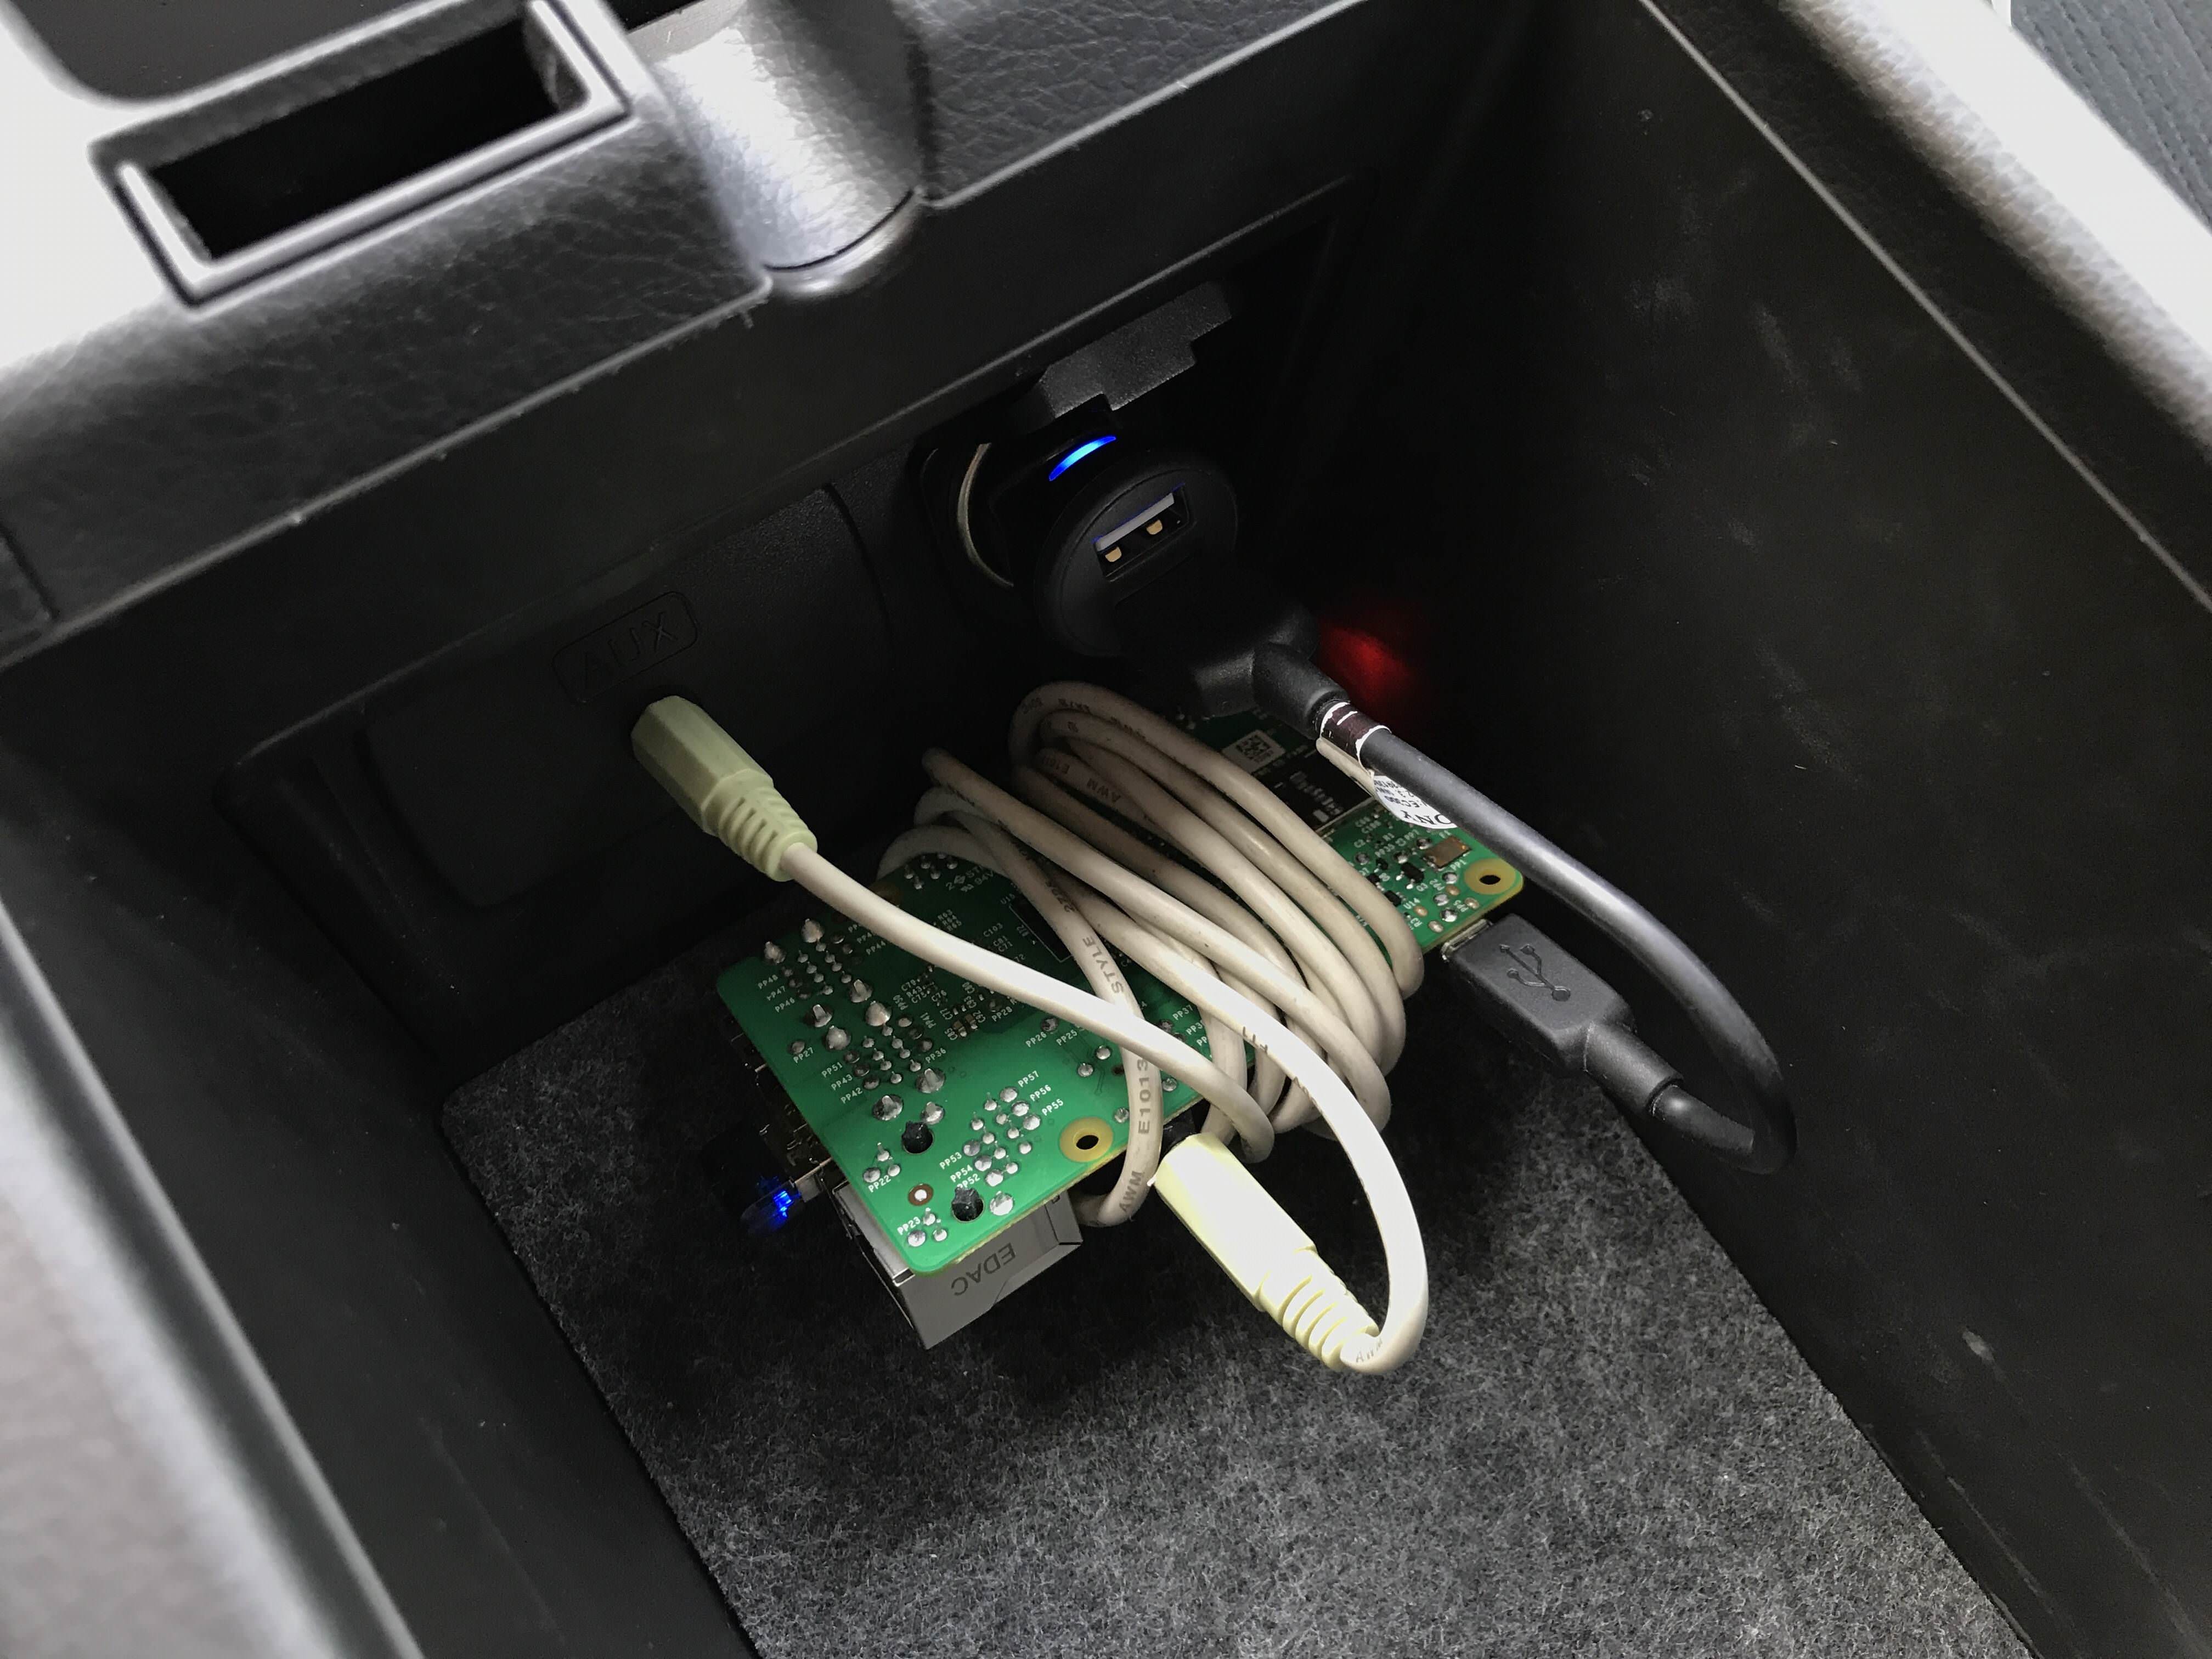
So I saw my Raspberry Pi sitting in a drawer, and it occured to me that it has a 3.5mm output, it is USB-powered, and I am sure I could make it be a Bluetooth receiver somehow, and after some googling and messing around, it turns out you can!
The Raspberry Pi Solution
Features
- Turns on when you turn on your car, turns off when you turn off your car
- Shows up as a pairable device if no one is connected to it
- Automatically reconnects to your preferred device when its turned on
What you need
- A Raspberry Pi (preferably version 2 or better)
- I use a Pi 2. I tried with the Pi 1 but it was slow and audio stuttered occasionally.
- A Bluetooth USB Dongle that is supported
- I actually have no idea what to look for here, but the one I had lying around worked out of the box, the Belkin F8T065BF
- SD Card for the Pi, preferably one that is very fast to speed up boot times
- 3.5mm AUX cord (male to male) to hook the Pi up to your car's audio system
- Micro USB <--> USB cable for charging
- USB <--> Cigarette Lighter Plug Adapter Thing, so you can charge USB devices if your car doesn't have a USB plug
What you also need during setup
- USB Keyboard and a HDMI Monitor so you can enable SSH
- For some dumb reason, SSH is now disabled by default in Raspbian
- Ethernet connection for your Pi
- SD Card Reader for your computer
- A computer
Tutorial
- Download Raspbian Lite. I used the version
2017-07-05-raspbian-jessie-lite. Future versions may or may not work. - Format your SD Card with SDFormatter
- Flash the Raspbian Lite image to your SD Card. On Windows you can use Win32 Disk Imager, on Mac/Linux you probably have to use
dd. - After it has been flashed, you should have a partition on it called boot. In the root of this partition, make a text file called
_DEVICE.txtand in it, put your preferred device's (your phone?) Bluetooth MAC-adress, and nothing else.- On iPhone/iOS, you can find this adress by going into Settings -> General -> About
- If you get a new phone or something in the future, you have to change this again
- This MAC-address is what we try to reconnect on reboots, but you can still have friends connect by just disconnecting your phone and letting them connect instead. But when you reboot (turn on your car) it will try to connect to your own phone again. If you want your friends phone to be automatically reconnected, you have to change it in
_DEVICE.txt
- Safely eject your SD Card and plug it into the Pi, along with HDMI, USB Keyboard and the Bluetooth dongle, and power
- Boot up the Pi, and log in with username:
pi, password:raspberry - Run
sudo raspi-config. Go into Interfacing Options and enable SSH. Also go to Boot Options, and disable "Wait for Network at Boot" - Run
sudo apt-get install git omxplayer - Run
git clone https://github.com/BaReinhard/Super-Simple-Raspberry-Pi-Audio-Receiver-Install.git && cd Super-Simple-Raspberry-Pi-Audio-Receiver-Install - Run the install script by doing
sudo ./install.sh - Choose option 4 (Bluetooth Only), use same name for all devices (y), enter whatever name you want (I used "Subaru")
- Wait for the script to finish and reboot
- Save this script, that I wrote, into
/home/pi/reconnect.sh:
#!/bin/bash

# read preferred mac adress from the _DEVICE.txt file
macadr=$(cat /boot/_DEVICE.txt)

sleep 6 # change this if you want
echo -e "connect $macadr\nquit" | bluetoothctl

amixer set Master 50% # sound effect doesnt need to be 100% loud
omxplayer /home/pi/mac.mp3

amixer set Master 100% # set pi volume to 100%, change volume with your car stereo instead
- Make the script executable, by doing
sudo chmod +x reconnect.sh - Edit crontab by running
sudo crontab -e(use any editor you want) - Add at the bottom this line:
@reboot bash /home/pi/reconnect.sh-- this will make the script run everytime you reboot (start your car) - OPTIONAL: Download a short sound effect that you want to play when the script has finished running. Personally I use the Mac Startup Chime. Just save it to
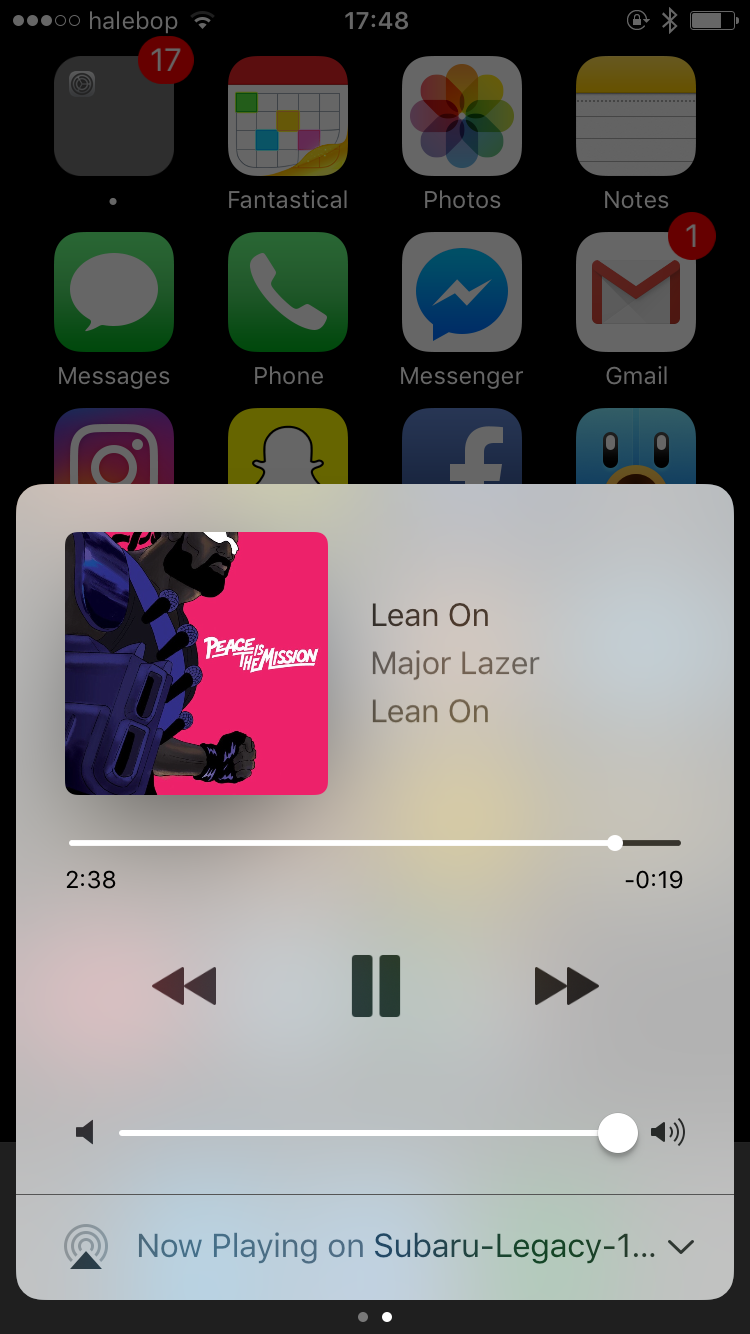
/home/pi/bla.mp3and editreconnect.shappropriately (theomxplayer /home/pi/mac.mp3line) - With your Pi turned on, go to your phone's Bluetooth menu and you should see your new device. Try connecting to it, and maybe even try playing some music to see if it works.
- I recommend putting your phone's output at 100% Volume. Just adjust volume with your car stereo instead.
- Try rebooting the Pi (
sudo reboot now). You should see that your phone has disconnected from the device, and once your Pi is back on again, your phone should be connected again (after you hear the optional sound effect.) and you should be able to play music again- If your Pi hangs up during reboot, just unplug the power and plug it back in
- If your phone reconnects automatically, but you don't hear music when you hit play, try increasing the sleep timer in
reconnect.pyand reboot again
Technically, we are kind of done now and everything works as it should. But to increase the longevity and reliability, we should dramatically decrease the amount of writes we to do the SD-card, so we don't have to worry about turning off our car in the middle of a write, thus corrupting the SD-card.
- Edit
fstabby runningsudo nano /etc/fstab, and add these lines to the bottom of it:
tmpfs    /tmp    tmpfs    defaults,noatime,nosuid,size=100m    0 0
tmpfs    /var/tmp    tmpfs    defaults,noatime,nosuid,size=30m    0 0
tmpfs    /var/log    tmpfs    defaults,noatime,nosuid,mode=0755,size=100m    0 0
tmpfs    /var/run    tmpfs    defaults,noatime,nosuid,mode=0755,size=2m    0 0
tmpfs    /var/spool/mqueue    tmpfs    defaults,noatime,nosuid,mode=0700,gid=12,size=30m    0 0
- Change the logging engine to one that runs in memory by running these commands:
sudo apt-get install busybox-syslogdandsudo dpkg --purge rsyslog - Run
sudo nano /boot/cmdline.txtand at the very end of the line, addfastboot noswap
These commands will essentially make most writes that we need to do happen in memory, instead of on the SD-card. Ideally we would make the entire file system read-only, which I tried, but then audio wouldn't work, as PulseAudio or something else wants to write something.
Known issues
- Sometimes the Pi just won't boot and you have to reboot it (very rarely in my experience)
- Even though we auto-reconnect to your phone, you still need to hit play manually (although I think most Bluetooth devices I've encountered are this way)
Closing Words
I haven't been on any long drives with this setup and I have only been messing with it for a day, so I don't know how good it will be in the long run, but I have high hopes.
Please let me know if you try this, and how it works out for you :)